

For many, oiled wood flooring is probably among the most natural looking finishes available on the market, no matter whether a given floor is solid or engineered. That’s recently been a quite popular choice despite the fact that oiled wood flooring is obviously not as resistant to wear and tear as lacquered wood flooring. However, an oiled wood floor which is properly maintained is a very versatile and practical flooring option.
Oiled wood flooring owes its immense popularity to the fact that oiling wood increases the natural beauty of the wood and makes its grain more visible. Yet, it’s crucial to take care of oiled wood flooring to keep it looking great for a really long time.
Preparing the floor
Let’s assume that your flooring has been well oiled at the beginning. In such a case maintenance should be easy and unproblematic. You will need to vacuum the floor every now and then and quickly wipe it with a damp mop, which shouldn’t be wet. In most cases, you won’t even need any detergents. But, if the floor has gotten too grubby, you can go for a mild detergent. Just add it to the cleaning water and wipe the floor as usual.
If your oiled floor is somewhat stained in certain areas, you could handle the stained surface through spot repairing, which consists in gently sanding the stained area of the floor and then applying oil finish on that area. But, if the floor is strongly stained, the only effective option is to recoat the entire flooring.
As far as recoating of the entire floor is concerned, it requires you to be well-organised if you want to do it yourself. Once you’ve decided to hire professionals, clearing the interior should be actually your only task, the rest of the job should be left to them. Anyway, when emptying the room, watch out not to drag the furniture across the floor, but lift all the furnishings. Dragging furniture across the floor can wreck havoc, leaving visible scratches or dents. Remember that the success of the entire project lies in the right and careful preparation. Put much effort into the project already at the preparation stage and you will get best results.
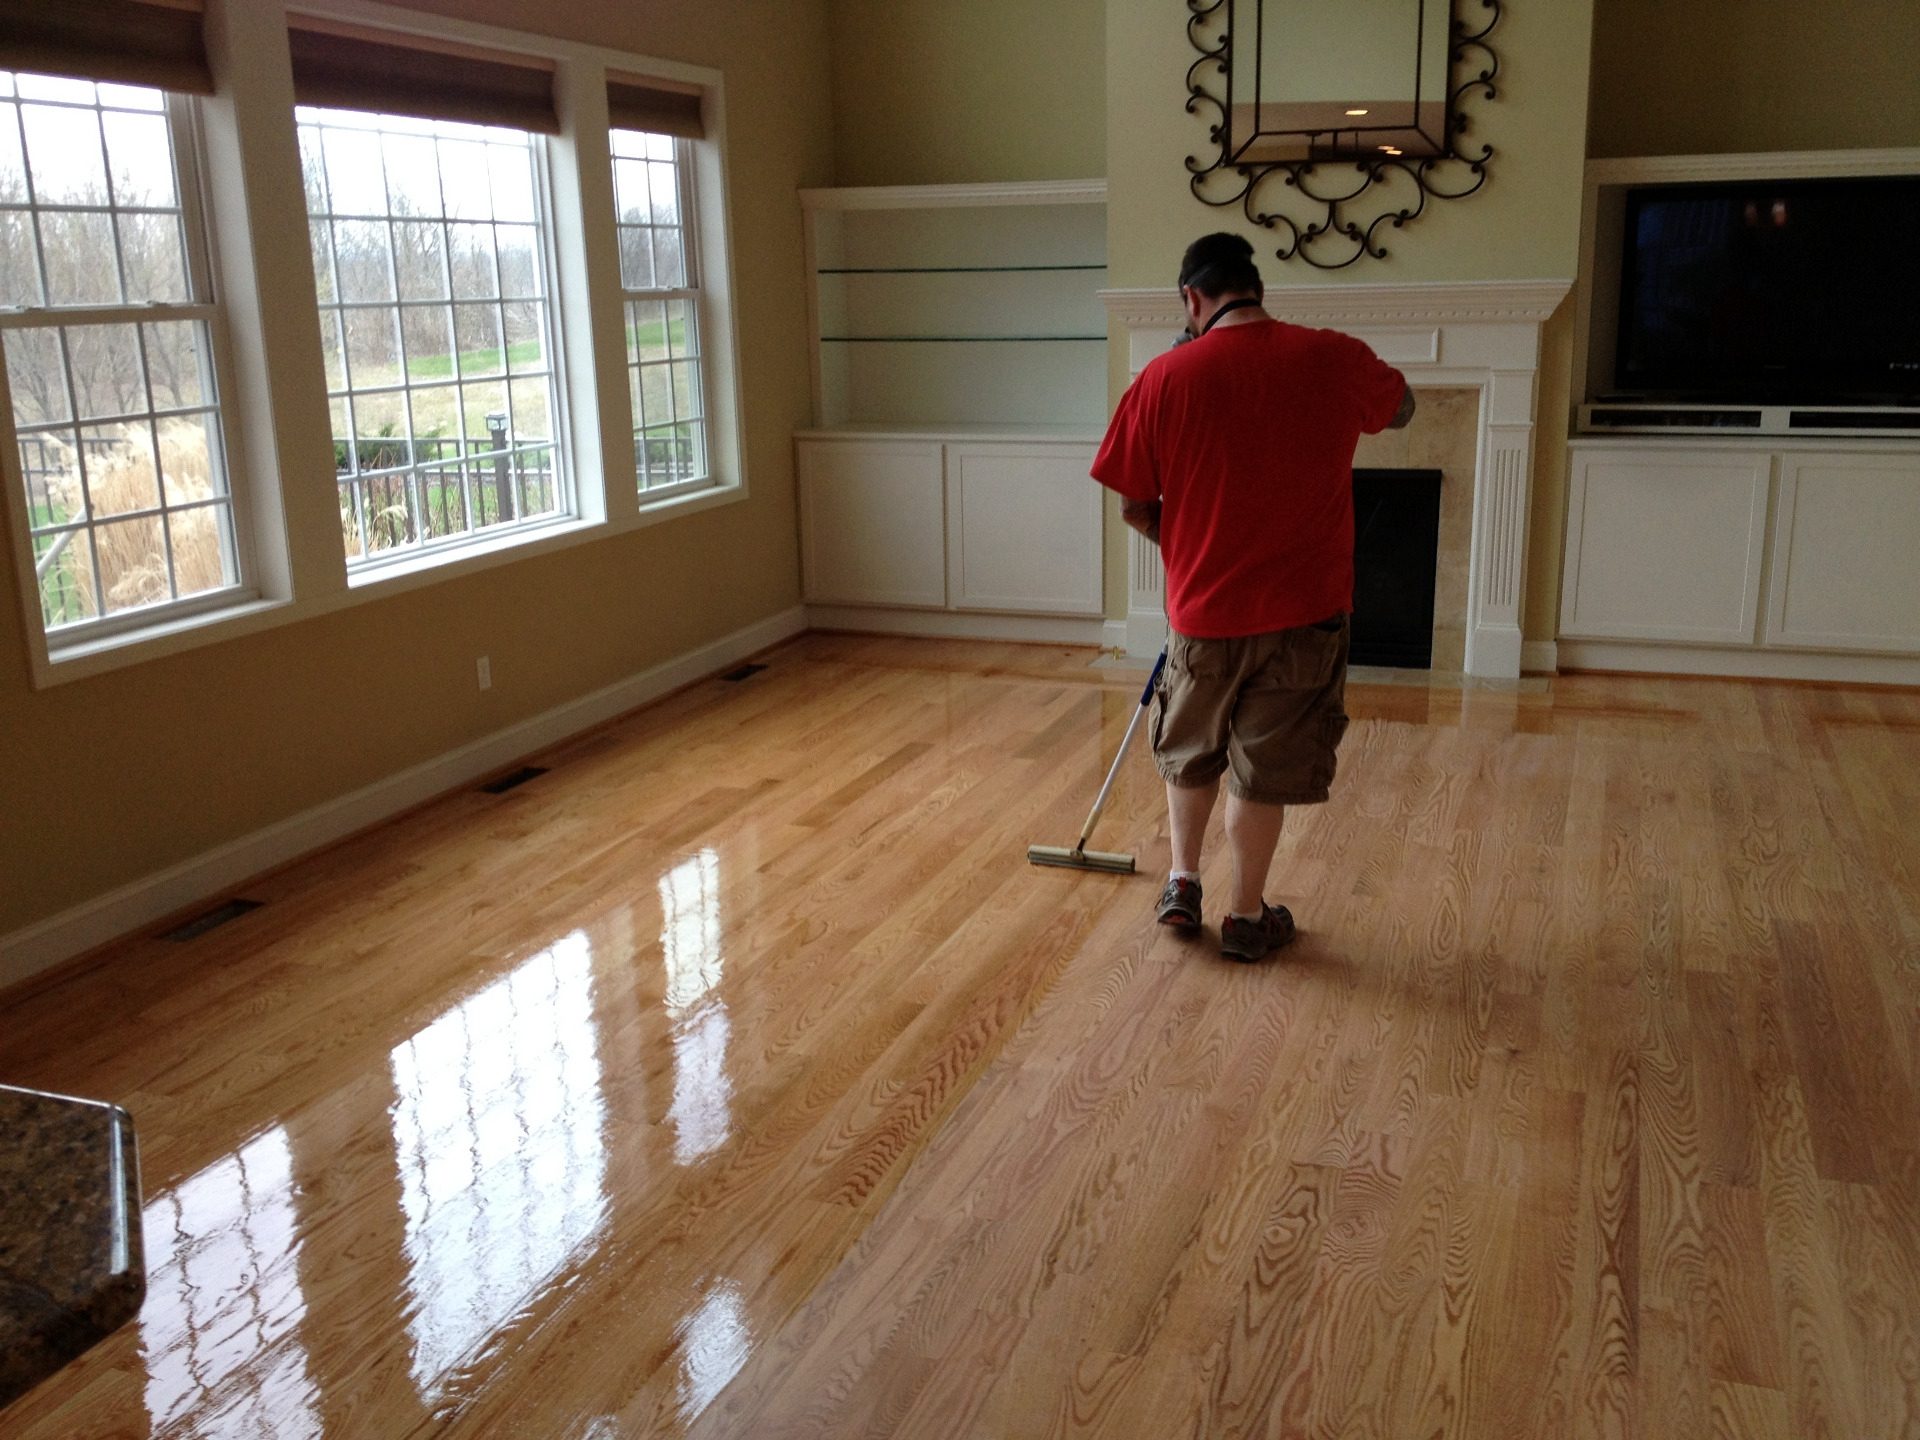
If you’re going to recoat the oiled floor yourself, you’ll firstly need to gently sand the flooring to get rid of the top layer of dirt, grime and damaged finish. We sand the floor to prepare it to absorb the oil and achieve a nice, even surface across the entire floor. After sanding it, make sure to devote enough time and effort, making sure that you’ve removed all the dust from sanding before proceeding to the recoating stage. This is when you also need to repair any damage or fill gaps, if any.
Number of coats
One or two coats will need to be applied – all depends on an oil finish product that you’ve chosen. But you always need to stick to the instructions of the manufacturer. Ensure that you precisely mix the oil before starting the job. Then, try to apply it systematically along the boards. If the interior is large (over thirty sq.m.), you may choose to apply the oil in two sections, starting from the edges and then moving on towards the door. It would be best to do this by using a brush, which will make it possible for you to get to the edges and into the corners. As far as the main surface of the floor is concerned, you need to pour small amount of the oil onto the floor and spread it along the boards, by using a rubber-bladed scraper. Always make sure not to leave puddles of oil on the floor. Then, stick to the drying instructions on the given product (usually ca. 15-20 minutes) and apply the next coat if required. If the oil has dried, use a lint-free cloth to wipe the floor, removing any excess, and do make sure that the interior is well ventilated at the time of final drying.


.svg)
| Mon-Fri | 8:00AM – 5:00PM |
| Saturday | 10:00AM – 4:00PM |
| Sunday | 11:00AM – 3:00PM |
.svg)