

Prior to the purchase of a wood floor there are a few simple instructions you should be aware of. They should make your job much easier and will help with the performance of your floor.
1.Room temperature
In order to install your floor successfully you need to do it at room temperature. Installing your floor between 17-22°C will allow for expansion in the summer and contraction in the winter.
2.Humidity
The second thing which needs to be taken into account is the humidity of the room. For that you will need a moisture meter which will give you measurement required. You can get one at your local DIY store.
You need to make sure that your floor will be installed at a relative humidity of 40-60% (with the moisture content of the wood between 8-11%). Make sure it is not below 30%. Humidifier or de-humidifier might be required.
3.Room measurements
Also, prior to the purchase of the floor, when you are taking your room measurements you should add 5% to the actual size of the room (we have a great post explaining how to measure room size). This will allow for some off-cutting of the material that will not be used in final installation.
4.Floor acclamation
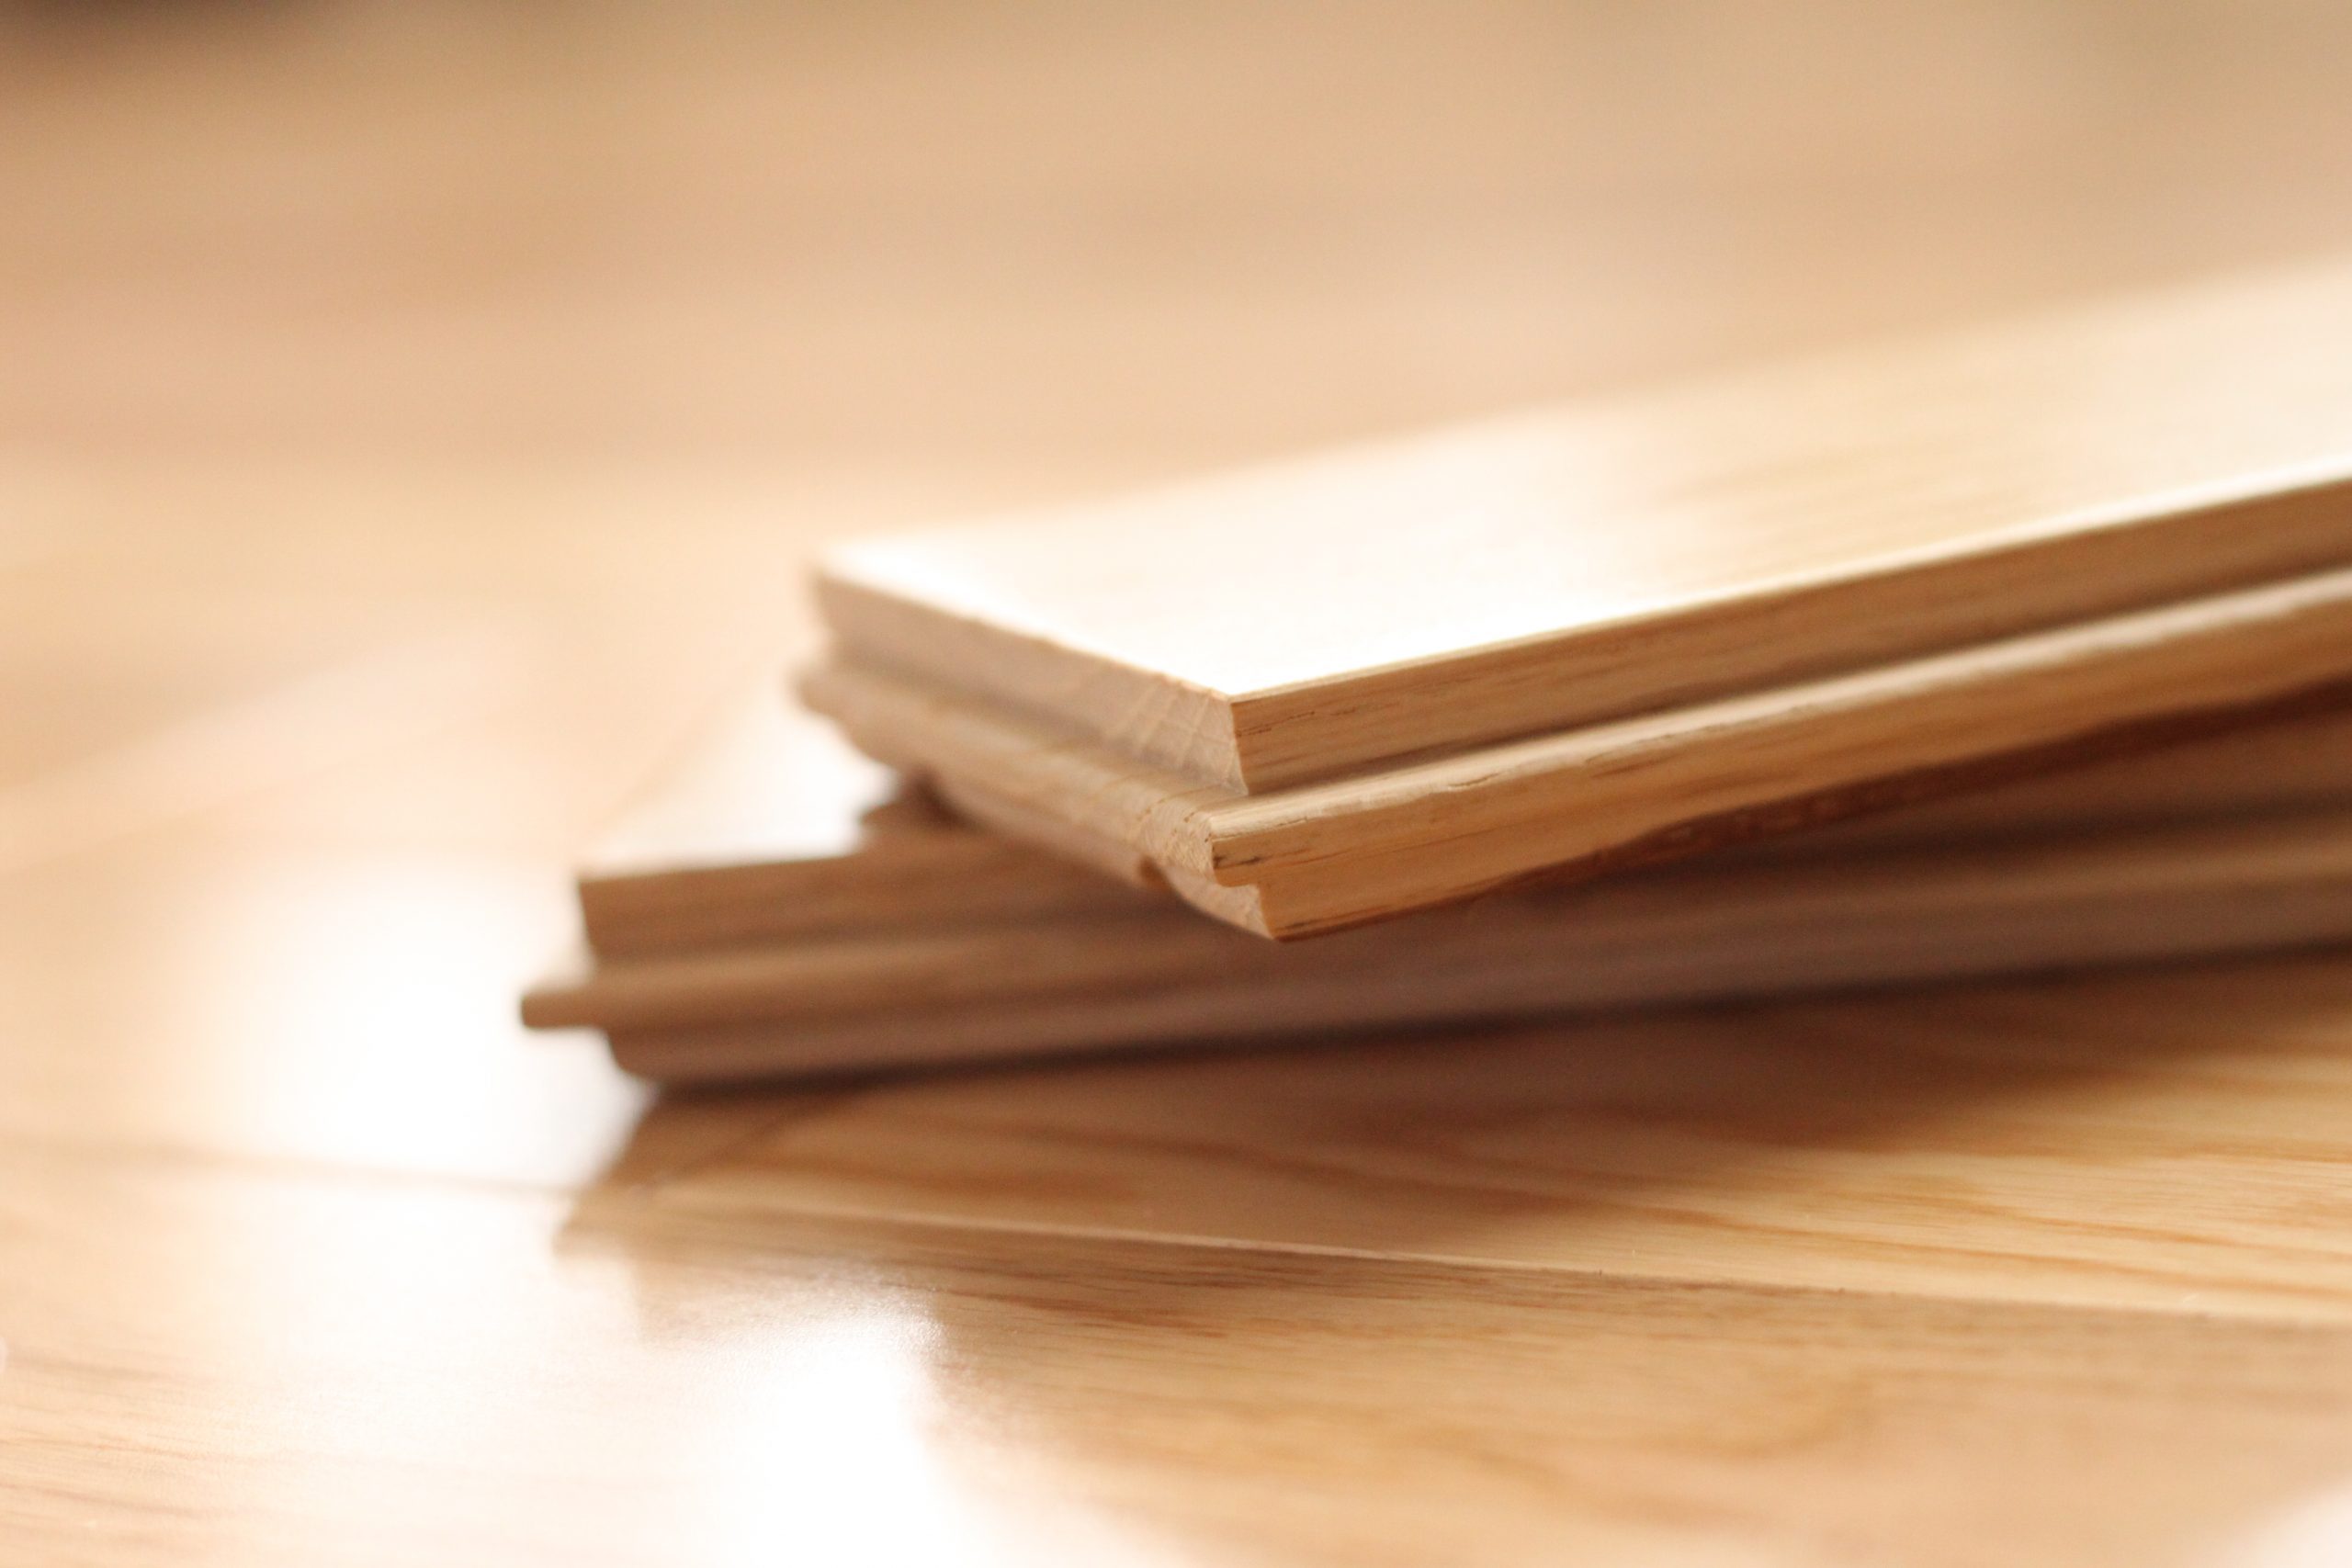
The next step you should follow is acclamation of the flooring. Acclamation is done by placing the wood in the exact environment in which it will be installed, so that the wood can equalize with that environment. Usually an acclamation period of 24-48 hours is recommended. The thing everyone one should look at carefully is the sub-floor. In general a sub-floor is anything that a wood floor can be laid on and anything that is sound, dry, flat and level.
5.Moisture of the sub-floor
The moisture of your sub-floor is very important. If you have a concrete sub-floor a moisture content of less than 3-4% is required and if you have a wood sub-floor, the maximum moisture content is 10%.
6.Underlay
One very important decision you need to make before installing a wood floor is to choose the right underlay. Here at ESB we offer a wide range of underlay, from 3mm Foam Barrier Underlay, 5.5mm Fibre Boards Underlay and 2mm Timbertec Underlay, to X-Pro Slotted and 3mm Tuplex Underlay for under-floor heating.
7.Installation tools
The last thing that must be prepared before starting the job is to invest in some installation tools. An important component of the basic installation kit is tapping block. It should be notched on the long and the short side so it will not damage the tongue or the groove on the plank you are tapping in to place. The next component is the set of expansion wedges which will be used in order to fix expansion gaps around the room. Another component of the installation kit is the last (end) board puller. You should use it when you put your last board against the wall and there is no room to use a tapping block.
To complete your installation the following tools should also be used:
– Measuring tape
– Pencil
– Hand saw
– Jig saw
Finally for all professionals we recommend a guillotine. It is useful when for any reason you want to cut down on the amount of noise and dust you create during installation.
For advice about the best wood flooring for your home feel free to contact the ESB sales team. Contact us now to request your no hassle no obligation free samples or come down to our North London showroom for a closer look.


.svg)
| Mon-Fri | 8:00AM – 5:00PM |
| Saturday | 10:00AM – 4:00PM |
| Sunday | 11:00AM – 3:00PM |
.svg)