

If it happened that you’ve seriously damaged a plank in a hardwood floor, which can’t now be fixed by using a filler or any of 3 main methods to easily fix dents in a hardwood floor, what you need to do is remove and replace it with a new one. Hence solid wood floors are installed in a tongue and groove fitting method, removing one plank can turn out to be considerably difficult. Thus, the best thing you can do is be prepared and have enough time to make sure you do it carefully and get a good result. Importantly, you need to try to avoid damaging the remaining planks neighbouring the one which has been damaged. In addition, never pull at the board – you may be tempted to do so, but it often can do more harm than good.
In this article you will learn how to get to that and how exactly to proceed, but let’s first look at the things you’ll need to prepare: a hammer, a jigsaw, a circular saw, a chisel, a masking tape, a ruler and a pencil or a removable marker to mark the wood.

Board protection
Let’s move on to what you need to do. Start by covering the surface of all the boards around with a masking tape. By covering the tops of the other boards, you will be able to avoid accidentally damaging the surrounding boards, which are still in good condition.
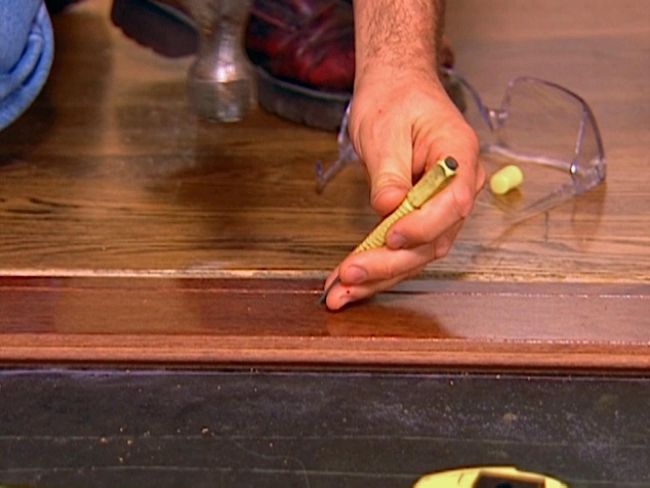
Having covered the boards, use a ruler and a marker to mark out a rectangle along the length and width of the board you need to remove. This rectangle should be located slightly over 1.25cm from each of the board’s four edges. That is the place where you will cut the board later on.
Cutting the board

Once the board is already marked out and you know where you are going to cut it, use a circular saw to cut it. If you know how thick the board is, you will be able to set the saw to the exact thickness. But if you don’t, start with 1.25cm and work up from there until establishing the proper setting. It’s recommended to make a test cut in the middle of the marked rectangle.
Once, you’ve established how thick the board is, cut it carefully with the circular saw along the two long sides of the rectangle. When the two long sides are cut, move on to tackling the short sides with a jigsaw. You’ll get a rectangular ‘hole’ in the middle of the damaged board. Then, you’ll be able to prize out the remaining parts of the board carefully with the use of a hammer and a chisel.
Move around the remaining parts of the plank to gently pull it out, paying special attention not to damage the tongue or the groove of the surrounding boards. Always try working horizontally and carefully get rid of any nails from the tongue side of the plank.
Matching the plank
Then, we move on to a bit more challenging task, which is finding a proper board to replace the one you’ve removed, so that it matches all the neighbouring boards. That’s why when investing in a new floor, it’s always recommended to get some extra planks to store them for the future, in case you ever need to repair a board, which confirms that thinking in advance often pays off.


.svg)
| Mon-Fri | 8:00AM – 5:00PM |
| Saturday | 10:00AM – 4:00PM |
| Sunday | 11:00AM – 3:00PM |
.svg)