Are you thinking about refinishing or refurbishing your wooden floor? If so, there are several things you need to consider before you start the entire project. On the one hand, refinishing a floor allows you to save money, as it’s much less costly than laying brand new wood flooring. But, on the other hand, you need to remember that refinishing works require a considerable amount of time and patience. This is not a project that you can approach without the appropriate planning and proper attitude. However, if you think all these aspects carefully through, organise the right equipment and get ready to devote certain amount of time and energy, you can achieve a very satisfactory final result, which will astonish both your family members and visitors. Such a floor refinishing project encompasses in general three major steps, including:
-
Sanding
-
Staining (it depends on your choice)
-
Finishing
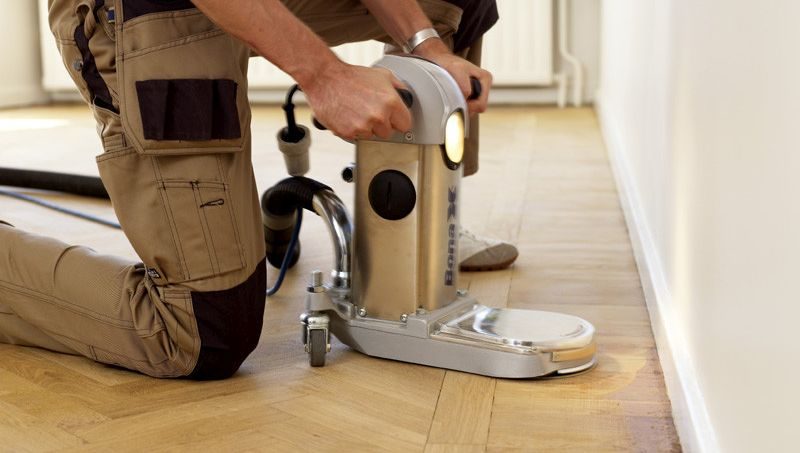
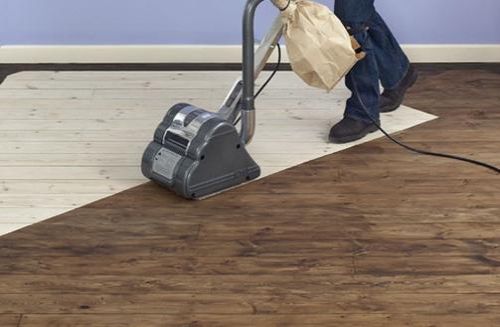
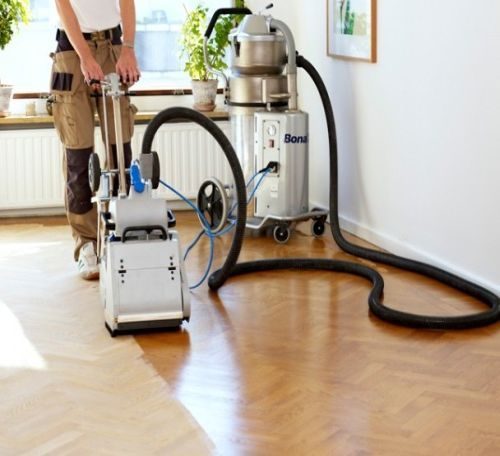
As far as sanding is concerned, you can use one of two major types of sanders – an orbital sander and a drum sander. Orbital sanders are very user-friendly and entail lower risk of potential damage. Drum sanders, on the other hand, are extraordinarily effective.
However, they are quite heavy and DIYers, especially those without much previous experience in this field, can find it hard to use them the right way. Moreover, a drum sander needs to be constantly kept on the move, or else you can develop permanent damage in the surface of your floor, caused by the sander turning in a stationary position.
Depending on the characteristics of the flooring project, you can also think about hiring an edging sander. It will enable you to reach right into the corners and right up to the skirting in your room.
The next thing you need to choose is the right sandpaper. As there are many grit sizes you may feel confused which one best fits this task. We would recommend you to purchase a whole range, starting from heavy grit, e.g. 40, through to fine, e.g. 120 grit.
We’d also like to share several tips and tricks related to sanding a wooden floor, which may come in handy when refinishing or refurbishing your floor.
Sanding can cause quite a mess, so don’t forget to remove all your furniture and soft furnishings – get rid of everything in the given interior. When removing furniture, protect the floor and remember not to drag any heavy items across the floor, as this can cause serious damage.

When you’ve completely emptied the room, check the floor for any staples, nails or tacks. Remove staples and punch nails and screws down, so they fall below the floor surface. It’s important to do this very carefully, as any such item can cause problems during sanding.
At the beginning use sandpaper with the heaviest grit and re-do the entire floor carefully, and then gradually use one with finer grit. This also applies to edges if you went for an edging sander.
If you’re already done with sanding, vacuum up the dust that has accumulated on the floor and in gaps between boards.
At this point, you need to leave enough time between sanding, staining and finishing, thus ensuring that any airborne dust has already settled and has been removed, before getting on to the next stage.
| Mon-Fri | 8:00AM – 5:00PM |
| Saturday | 10:00AM – 4:00PM |
| Sunday | 11:00AM – 3:00PM |


.svg)
.svg)