Solid wood flooring, which is among the most popular flooring types, is made of a single piece of wood. Such floors are very durable (up to 100 years) and probably most of you have this type of floor at your house or flat. Its considerable advantage as compared to other flooring options is the fact that you can recoat and refinish it multiple times, making it look new and very appealing again.
When you notice that a protective finish of your floor has worn off, you don’t need to replace it, just refinish it – it’s much cheaper and doesn’t require that much time and preparations.
We would like to provide you with a short step-by-step instruction, which will help you do it on your own.
But even if you decide to use expert assistance and engage a professional, you’ll still have to pay less than if you wanted to have your floor replaced, so that’s an option that you obviously should take into account.
NOTE: At first, remember to precisely vacuum clean the floor and clean it with a damp mop. It may turn out that your floor doesn’t need to be refinished yet.
A step-by-step instruction on how to refinish solid hardwood floors:
STEP 1 – Sanding

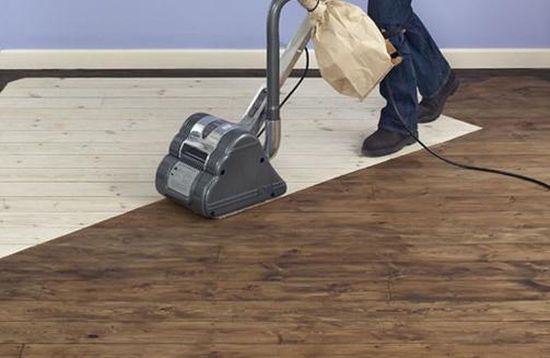
First, you should rent a floor sander. Carefully read its safety notice (remember that sanders are usually quite heavy). Then, move all your furniture out of the room and ensure that no obstacles will hinder the works. Fit heavy grit sandpaper sheet to the sander and start the sanding process in accordance with the direction of the grain.
As you’ve finished, do it once again, but this time use sandpaper with lighter grit. Don’t forget that you need to proceed in the direction of the wood grain.
STEP 2 – Staining

Staining is optional. It is up to you to decide whether you want to stain your floor or leave its natural shade.
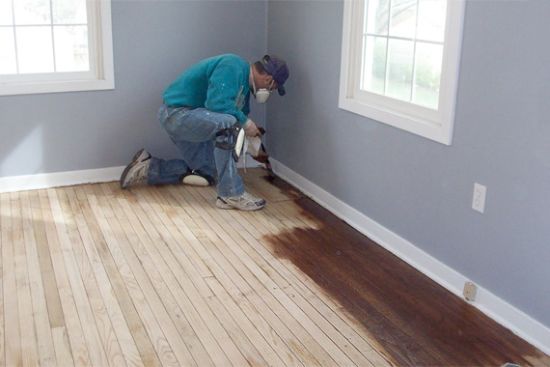
Vacuum clean the interior, removing the dust and all the remains left after the sanding. Conduct a test of the stain that you’ve selected on a small, hidden area of the floor to confirm that the shade really appeals to you. Then, stain the floor and wait some time to allow it to dry.
STEP 3 – Finishing

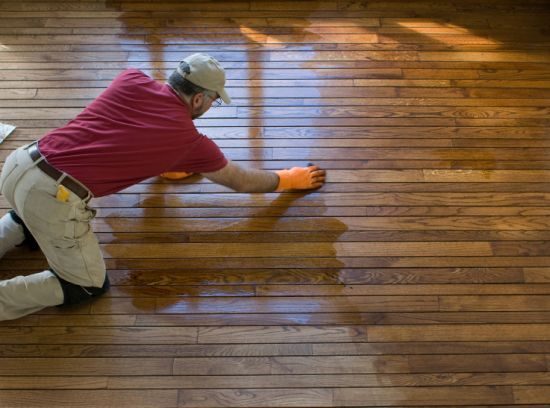
Carefully apply a polyurethane finish to your floor, using a roller brush, and leave it for several hours until it’s dry. If you want a perfect finish effect, wait for ca. 4 or 5 hours until the floor is dry and then apply the next layer of finish, leaving it until it becomes perfectly dry.
You need to remember to comply with all the safety rules all the time: each time, read product labels, in particular when you’re using chemical substances. If possible, always test a given product first. Wear protective clothes and often air the room during the sanding process.
As we’ve already mentioned, solid hardwood floors are manufactured from 100% hardwood, so they last longer than other floors and you can sand, refinish or recoat them a few times, making them look fresh again. Therefore, solid hardwood floors are more durable than other flooring solutions.
Should you need assistance or guidance when planning your project, the EFB Flooring team is here for you. Call us and get professional support and advice on all issues related to various flooring solutions and flooring installation methods.
| Mon-Fri | 8:00AM – 5:00PM |
| Saturday | 10:00AM – 4:00PM |
| Sunday | 11:00AM – 3:00PM |


.svg)
.svg)